Raspberry Pi Projects Can Be Affordable Again with Budget-Friendly Options
A budget-friendly Raspberry Pi option can be had for just $45 and can handle several simple projects without any issues.
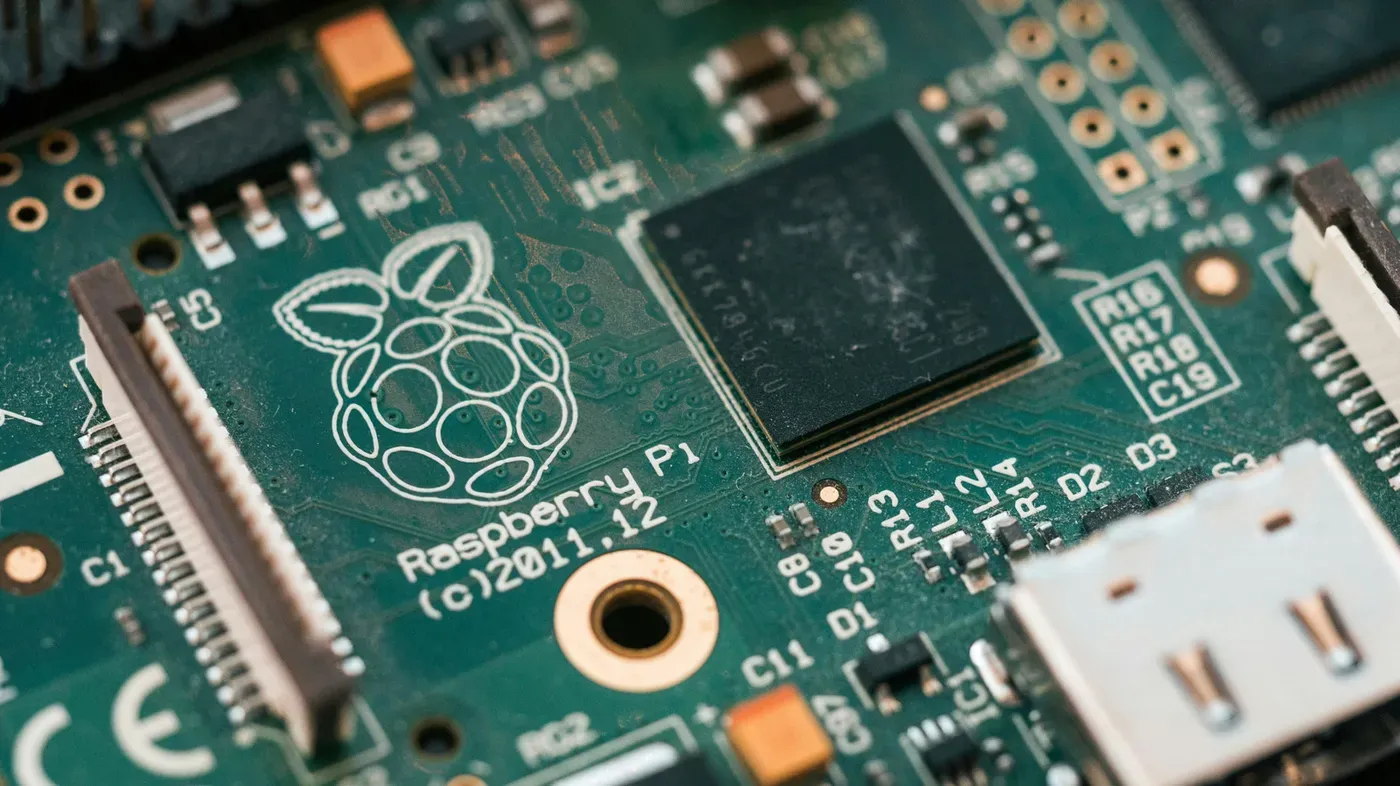
Raspberry Pi projects often fizzle out before completion due to lack of dedication and patience from beginners.
These fun and useful ideas can help prevent your Raspberry Pi build from gathering dust on a shelf somewhere.
A 16GB Raspberry Pi 5 now costs $385, which is over three times its original price tag. This steep increase is part of the ongoing RAM crisis affecting data centers worldwide. The rising cost has made it no longer an impulse purchase that it once was.
Mini PCs have also been impacted by the RAM shortage, but they are still worth considering for some projects due to their speed and performance in running regular PC software.
The 1GB Raspberry Pi 5 can be had for just $45 and can handle several of the simple projects listed below without any issues. This budget-friendly option is a great way to get started with your Raspberry Pi, even if you're not planning on using it for demanding tasks.
A clever solution to tackle ad blockers across multiple devices in your home is to create a network-wide ad blocker using a Raspberry Pi. This approach eliminates the need for installing ad blockers on each individual device, which can be a tedious task.
The software used to block ads and trackers relies on publicly available lists of known ad servers and trackers. To get started with this project, you simply plug your Pi directly into your router using an Ethernet cable, making it easy to set up even for beginners.
However, the Pi needs a fixed IP address and some configuration tweaks to ensure that it functions properly as a DNS server on your network. Once these steps are taken care of, the Pi can effectively block ads and trackers across all devices connected to the same network.
The simplicity of this project has made it one of the most popular entry points for beginners exploring Raspberry Pi projects. With its ease of setup and clear objectives, it's an ideal starting point for those looking to get hands-on experience with their Pi.
To turn your Raspberry Pi into a fully functional media center, you'll need a few extra components beyond the microSD and board itself. These include a game controller, power supply, and video cable - typically micro HDMI to HDMI.
The type of games you can play on this setup is also worth noting: since the software doesn't come with built-in games, you'll need to provide your own ROMs, which may require navigating some legal gray areas.
A more ambitious project that still uses a Raspberry Pi as its core is building a retro gaming handheld. However, creating one from scratch can be quite complex and might not be feasible for beginners - especially considering the availability of pre-made options at relatively affordable prices.
For those who don't want to venture into streaming services, this setup has another use: playing back movies, shows, music, and photos you already own on your digital media library. A software like LibreELEC can boot your Pi into Kodi, a user-friendly interface for accessing your content.
Kodi allows you to organize your files from a hard drive or home server, filling in artwork and episode info automatically as it goes along. There are also free community-built add-ons available to customize the experience further - and with HDMI-CEC, you can even control Kodi using your TV's remote.
The Raspberry Pi can be used to recreate a popular feature of Google's discontinued Chromecast Audio. This small device was designed to turn any ordinary speaker into a wireless one by plugging it into an audio input. It essentially made speakers that couldn't stream music independently, capable of doing so.
To set up the Pi as a wireless speaker, you need to plug it into your old stereo or powered speakers and install Raspotify for Spotify Connect or Shairport Sync for AirPlay. These programs allow you to use the Pi as an audio output option in Spotify's device list or on your iPhone through AirPlay. This way, you can stream music from these platforms directly to your speaker.
It's worth noting that this project is not meant to be confused with a regular Chromecast, which was designed specifically for video streaming and has since been replaced by the Google TV Streamer. The Raspberry Pi's functionality is more similar to that of the discontinued Chromecast Audio, which was designed for audio streaming only.
The Raspberry Pi can also be used as a client for modern PC games, allowing you to play them from the comfort of your couch. A project called Sunshine enables local streaming of PC games, making it possible to use your existing library on your TV without needing a separate gaming console. This solution is less expensive than buying a dedicated Steam Link box.
Sunshine works by setting up the Raspberry Pi as a client for your PC's games, allowing you to stream them directly to your TV. This project is not meant to replace a full-fledged gaming system like the Steam Machine, but it does provide an affordable way to access your existing game library on your big screen.
To get started with Sunshine and Moonlight, you need to install the former on a PC and its companion software on a Raspberry Pi. This setup is compatible with NVIDIA, AMD, and Intel GPUs, and it's free of charge. The pairing process involves linking the two devices with a PIN, after which you can enjoy your PC gaming library on the big screen.
However, for a seamless experience, it's recommended to connect both the PC and the Pi via wired connections. While Wi-Fi is an option, Ethernet provides a more reliable connection for local streaming. This ensures that your games run smoothly without any interruptions or lag.
The Raspberry Pi 500 is another simple project that can be used as a child's first computer. It's essentially a Pi built into a keyboard and comes with a basic desktop setup that includes a web browser and coding tools. Plugging it into a monitor gets you started, but its price of $180 might not be the most attractive option.
While the Raspberry Pi 500 provides a solid foundation for learning, it doesn't come with parental controls out of the box. This means you'll need to set up controls before letting your child use it unsupervised, especially if they're going to be using it independently.
Facts based on reporting originally published by Engadget.
You may republish this story, in full or in part, if you credit News Central Site and link to it (licence CC BY 4.0). Photos are not included.